
Every day a unit sits empty between tenants is rent you don’t get back. The make-ready (the work that takes a unit from move-out to rent-ready) is where turnovers either run on schedule or drag. The usual causes of delay are an incomplete scope, a second trip for something nobody noticed, or three different vendors to coordinate.
This guide is a practical make-ready checklist for property managers and owners in Seattle and King County. It covers apartments, townhomes, condos and units in mixed-use buildings, and explains how we run make-ready services so turnovers stay predictable. Examples come from real jobs (client names withheld).
What make-ready services cover
A make-ready brings a vacated unit back to rentable condition. For most turnovers that means:
- Safety items: smoke and CO alarms, GFCI outlets, trip hazards, water heater settings
- Walls and trim: patching anchor and mounting holes, sealing stains, paint and touch-up, baseboard repairs
- Kitchen and baths: fixtures, caulk, drawers and doors, disposals, accessories
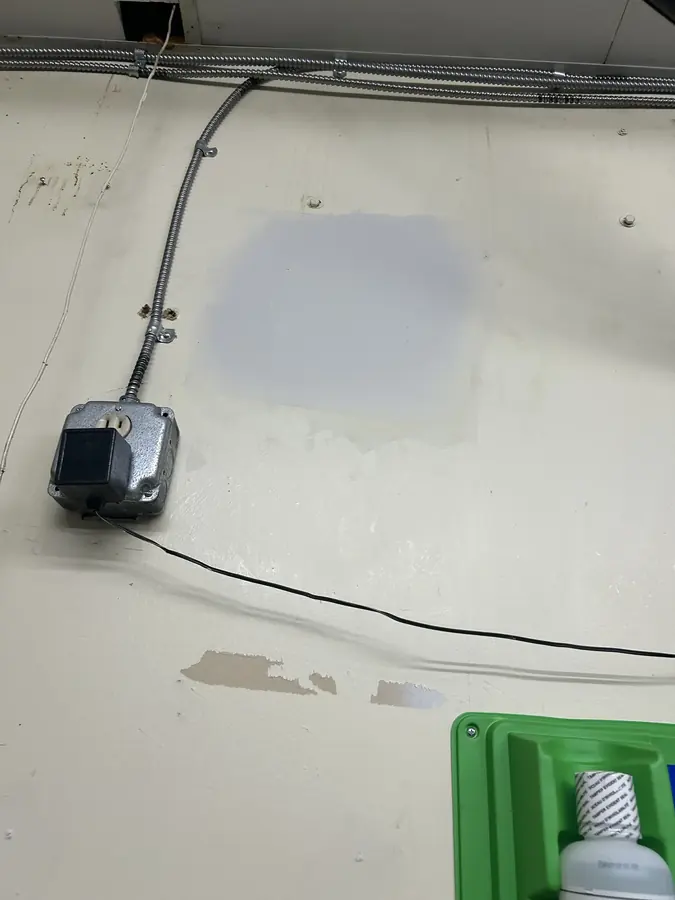
- Lighting and electrical: every fixture and bulb working, outlets and covers replaced
- Flooring transitions, stairs and doors: stair noses, thresholds, closet and pantry doors on their tracks
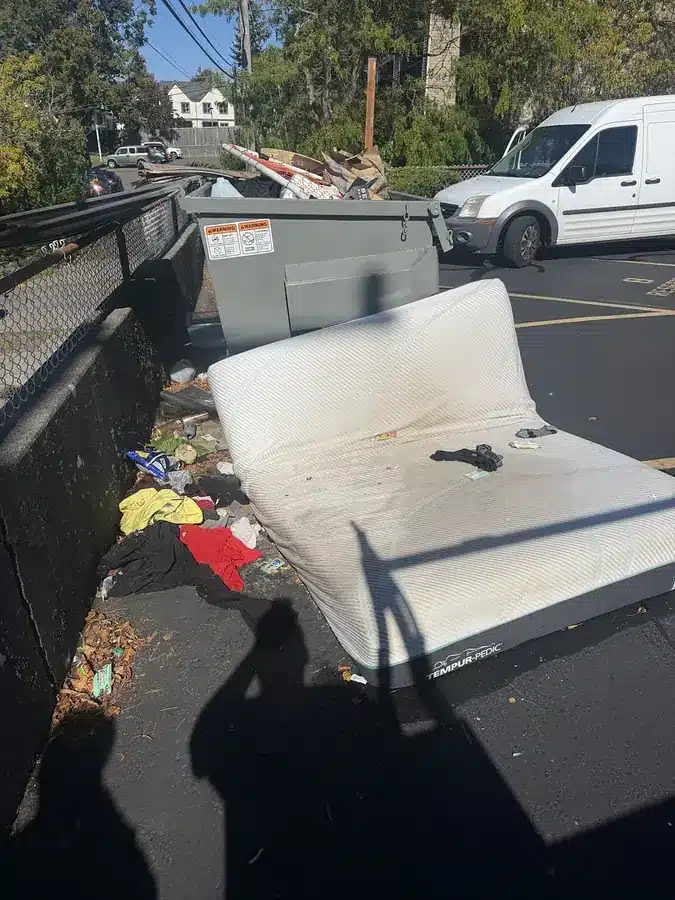
- Clean-out and haul-away of anything left behind
- Exterior and common areas when the property calls for it
Cleaning crews and carpet replacement are often handled separately, but the make-ready vendor should cover everything that needs a tool.
Start with a room-by-room inspection
The most useful thing you can get before a turnover is a written scope: one walkthrough that catches everything, so there’s no second trip.
Example: a three-level rental in Seattle’s University District. For a property management company, we walked the unit and produced a room-by-room inspection report:
- exterior, lower floor, foyer, each staircase, kitchen, half bath, living room and office, and each upstairs bedroom and bathroom
- photos of each area, plus a description of what we found, what to do, the materials needed and estimated labor hours
The itemized estimate that followed separated labor and materials for each area. That let the manager weigh each area on its own. The exterior work (fence, yard clean-up, downspout, deck and paint touch-up) was split out of the estimate as a separate decision.
That walkthrough also turned up something worth fixing on the spot: the water heater was set very hot. We lowered it during the inspection at no charge. Other findings were typical of a turnover:
- a smoke alarm hanging off its base, and a GFCI outlet next to a bathroom sink that needed replacing
- broken stair noses at the foyer step and on both staircases
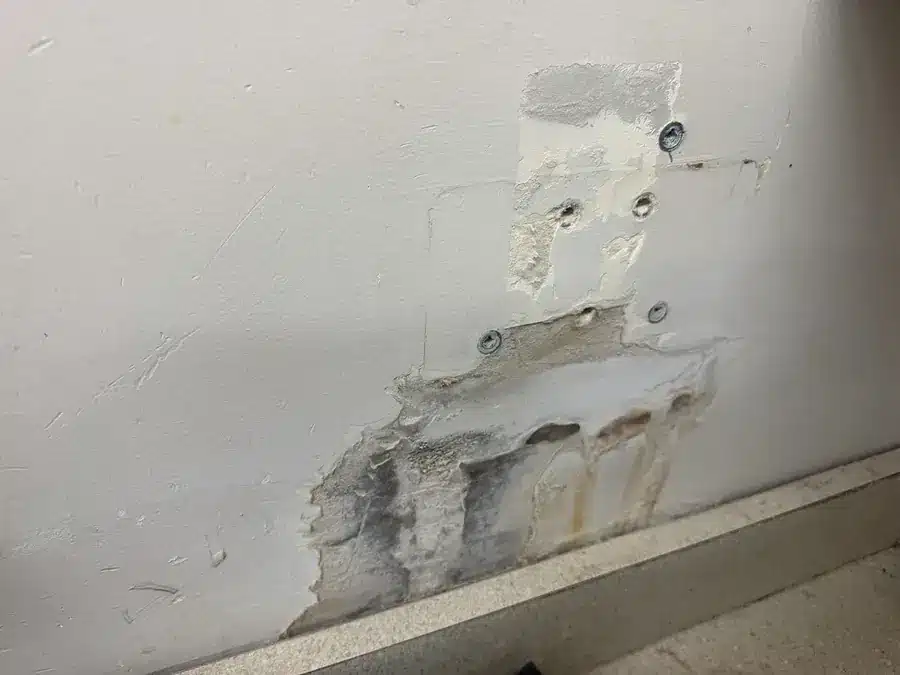
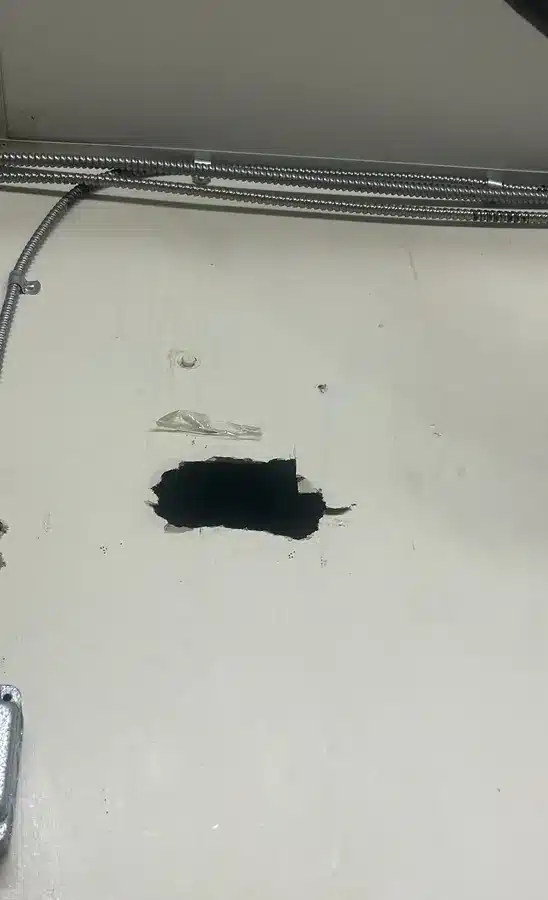
- drywall holes from TV mounts and anchors, and wall stains that needed stain-blocking primer before paint
- a jammed food disposal, failed drawer slides, cracked countertop caulk and pantry doors off their tracks
- light fixtures out in a closet, a bathroom, a storage area, the staircase and the outside entry
An inspection-first approach also gives you a dated, photographed record of the unit’s condition. That’s useful for your own records and for the next move-out.
The make-ready checklist
Use this as a starting point and adjust it to your property standards.
Safety first
- Test every smoke and CO alarm. Replace any that are missing, expired, hanging or not working.
- Test GFCI outlets in kitchens, bathrooms, laundry and exterior locations, and replace failed ones.
- Check the water heater temperature setting.
- Fix trip hazards: loose stair noses, lifted thresholds and floor transitions, loose handrails.
- Make sure every exterior door locks and latches, and handle locks or rekeying per your policy.
Walls, trim and paint
- Patch nail, anchor, TV-mount and doorstop holes, and repair damaged corners.
- Seal water, smoke or marker stains with stain-blocking primer before painting.
- Re-secure or replace loose and damaged baseboard, then caulk and touch up.
- Paint full rooms where touch-up won’t blend.
Kitchen
- Run the disposal, dishwasher and range hood, and check the faucet and supply lines for leaks.
- Fix sticking or failed drawer slides, hinges and cabinet doors.
- Remove failed caulk at the countertop and backsplash and re-caulk.
- Degrease walls and cabinets around the range.
- Refinish wood countertops or butcher block if the finish is worn through.
Bathrooms
- Re-caulk the tub, shower and sink. Check for soft drywall or stains around the tub.
- Check the exhaust fan. Bathroom ceiling stains and mildew often mean it isn’t moving enough air.
- Replace missing accessories: toilet paper holder, towel bar, shower rod.
- Check every light, including wet-rated fixtures over tubs.
Lighting and electrical
- Test every fixture, switch and outlet, and replace bulbs so the unit shows well.
- Replace cracked outlet and switch covers.
- Log anything beyond a like-for-like swap for a licensed electrician. We coordinate permit-level electrical work with a licensed contractor.
Doors, floors and stairs
- Put closet and pantry doors back on their tracks and adjust latching doors.
- Re-secure or replace floor transitions at doorways.
- Replace broken stair nose molding with a matching profile.
Exterior and common areas (if in scope)
- Make sure downspouts are connected, strapped and draining away from the building.
- Re-secure loose fence sections and deck boards.
- Clear the yard and haul away debris piles.
- Touch up worn siding and trim paint.
Clean-out
- Haul away and dispose of anything left behind, before the cleaners arrive.
How to keep turnovers on schedule
- Inspect as soon as you have access, so the scope is set before the unit sits.
- Approve by line item. A room-by-room estimate lets you approve what’s needed now and defer the rest.
- Use one vendor for every trade. Drywall, paint, lighting, plumbing fixtures, carpentry and haul-away on one schedule is faster than three subs. Our interior construction and drywall work and general repairs cover most of a make-ready in one visit.
- Keep the photo report. It becomes the baseline for the next move-out.
- Plan for occupied-unit coordination. Our owner and crew speak English and Spanish, which helps when units on either side are occupied.
If your units are in Seattle, a turnover is also a good time to fix anything that would come up in a city rental inspection under the Rental Registration and Inspection Ordinance (RRIO).
Make-ready FAQ
What’s the difference between make-ready and a unit turnover?
They’re used interchangeably. “Turnover” is the whole process between tenants. “Make-ready” usually means the repair and preparation work that gets the unit rent-ready.
Do you do make-ready for apartment buildings and condos?
Yes, along with townhomes, single-family rentals and units in mixed-use buildings across Seattle, King, Snohomish and Pierce counties.
Can you just give me an estimate first?
Yes. That’s how we prefer to start: a room-by-room inspection with photos and an itemized estimate, so you approve the scope before any work begins.
Unit turning over? Your Seattle Handyman is licensed, bonded and insured (WA Lic. YOURSSH744J3), with background-checked technicians and a 90-day workmanship warranty. Call (206) 460-0033 or learn how we work with residential property managers. Managing commercial buildings too? See commercial property maintenance.